IMPORTANT: No additional bug fixes or documentation updates
will be released for this version. For the latest information, see the
current release documentation.
Setting the time filter
edit
IMPORTANT: This documentation is no longer updated. Refer to Elastic's version policy and the latest documentation.
Setting the time filter
editThe time filter restricts the search results to a specific time period. You can set a time filter if your index contains time-based events and a time-field is configured for the selected index pattern.
By default the time filter is set to the last 15 minutes. You can use the time picker to change the time filter, or select a specific time interval or time range in the histogram at the top of the page.
Filtering with the time picker
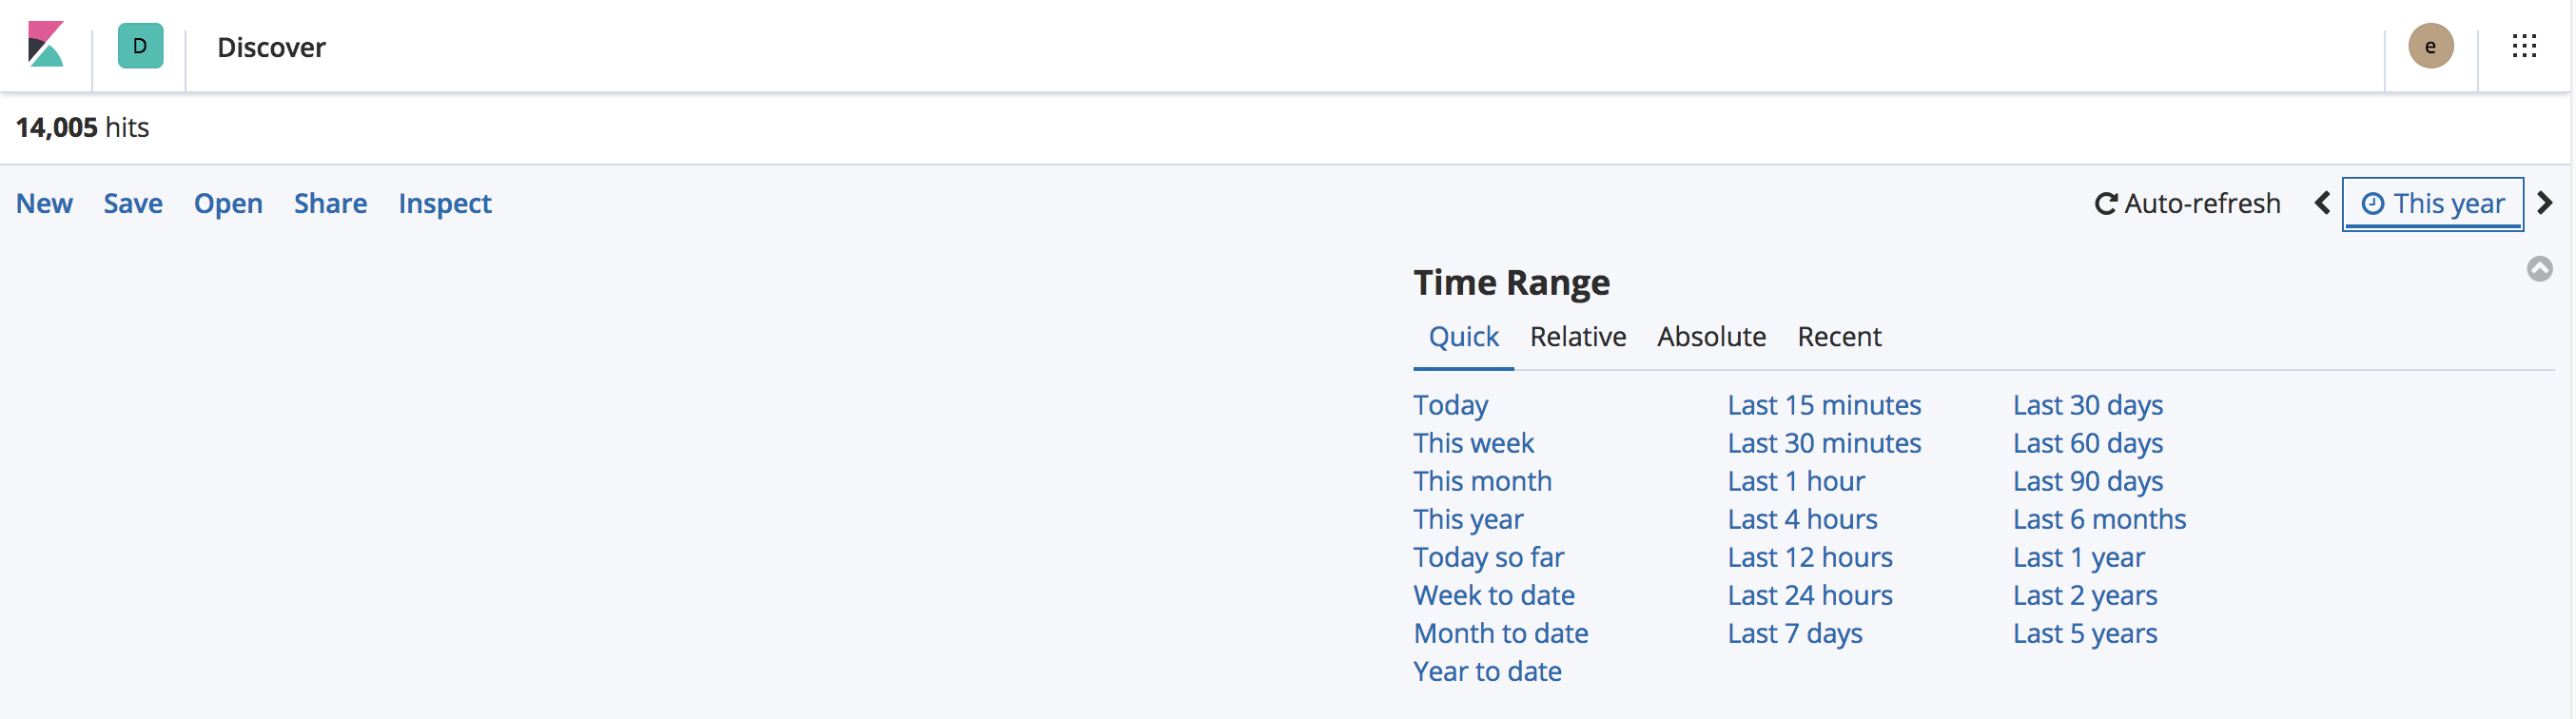
editYou can specify a time filter in one of four ways:
- Quick. Click your desired time window from the options listed.
- Relative. Specify a time filter relative to the current time. You can specify the end time relative to the current time. Relative times can be in the past or future.
- Absolute. Specify both the start and end times for the time filter. You can adjust the time by editing the To and From fields.
- Recent. Click one of the times from your list of recently used time filters.
Filtering from the histogram
editYou can set a time filter from the histogram in one of two ways:
- Click the bar that represents the time interval you want to zoom in on.
- Click and drag to view a specific timespan. You must start the selection with the cursor over the background of the chart—the cursor changes to a plus sign when you hover over a valid start point.
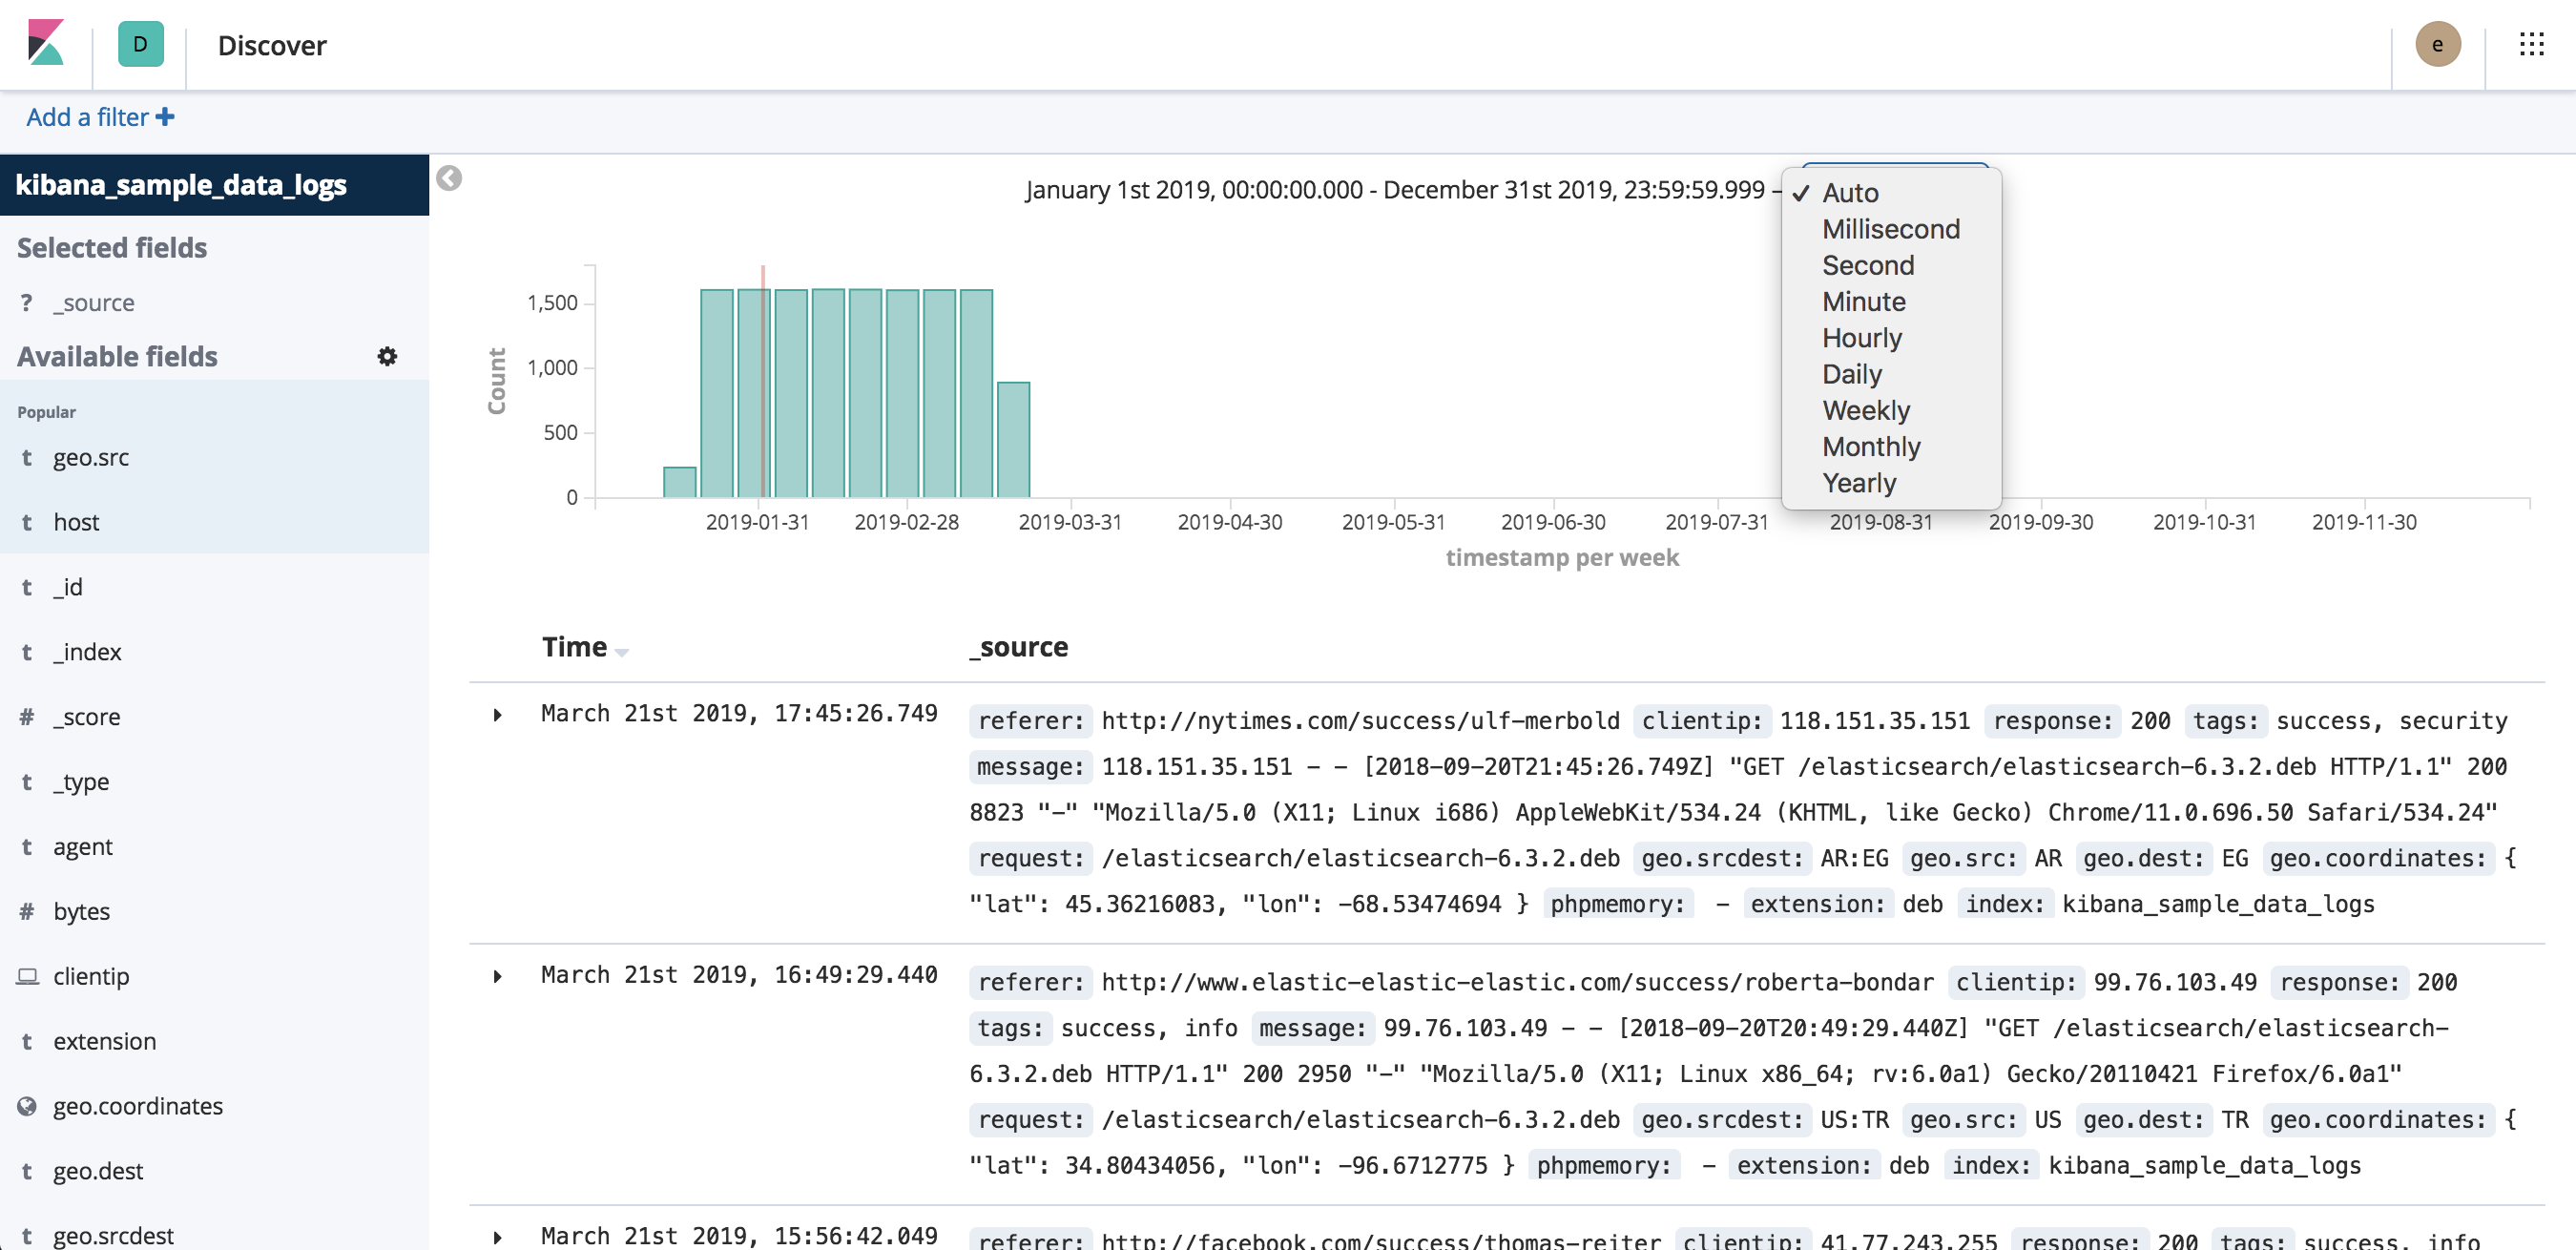
More options:
- Use the browser Back button to undo your changes.
- To move forward or backward in time, click the arrows to the left or right of the time rage.
- To use a different interval, click the dropdown and select an interval.