Microsoft Teams connector and action
editMicrosoft Teams connector and action
editThe Microsoft Teams connector uses a webhook to send notifications.
Connector configuration
editMicrosoft Teams connectors have the following configuration properties.
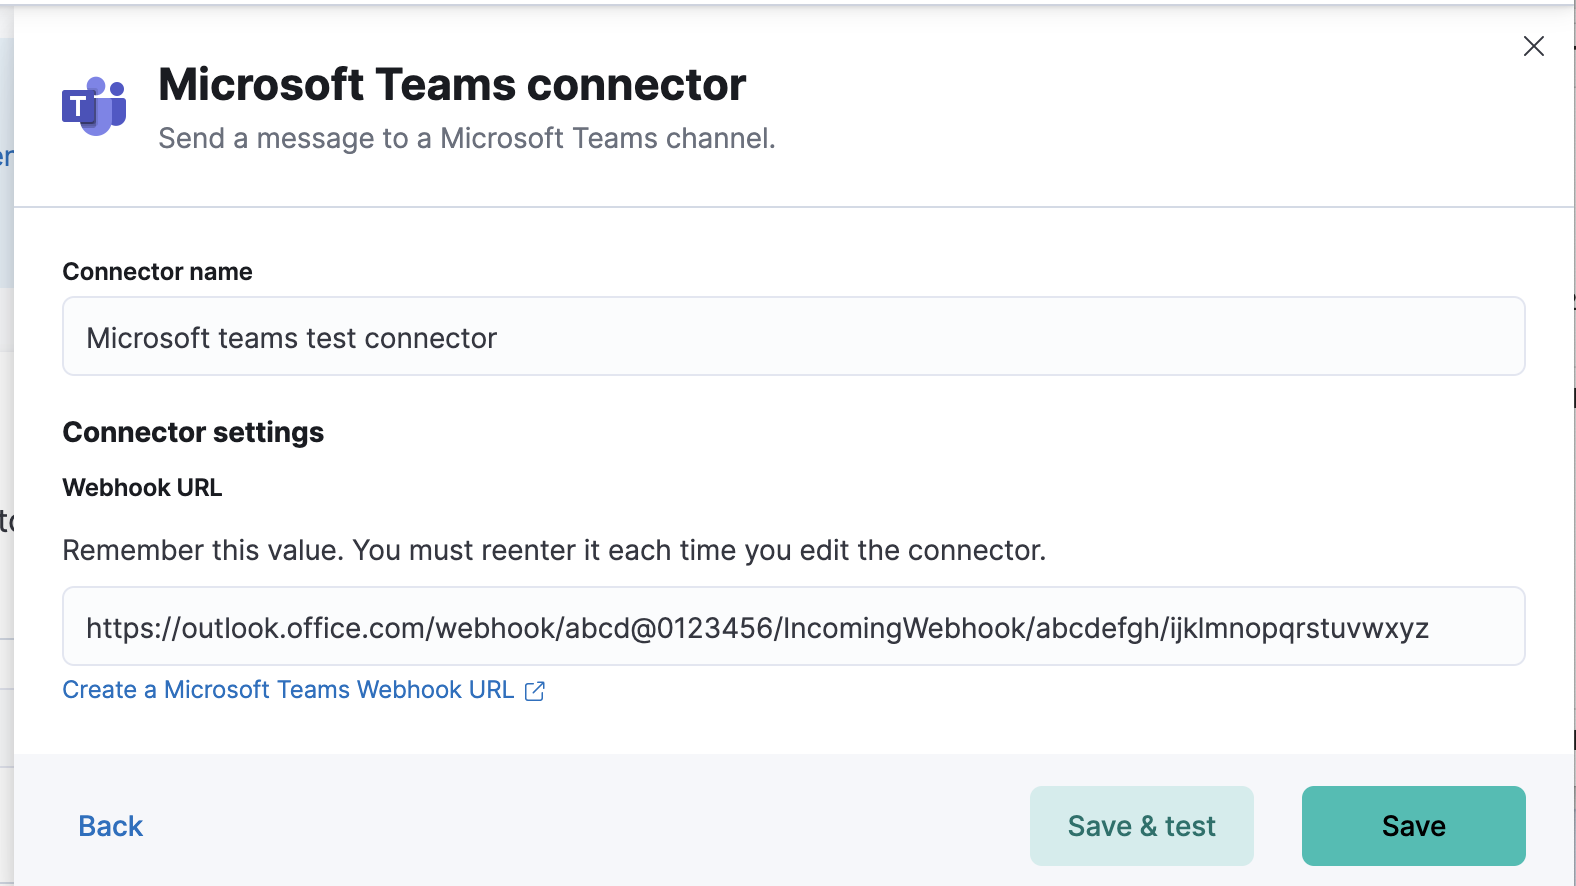
- Name
- The name of the connector. The name is used to identify a connector in the management UI connector listing, or in the connector list when configuring an action.
- Webhook URL
-
The URL of the incoming webhook. Refer to Configure a Microsoft Teams account. If you are using the
xpack.actions.allowedHostssetting, make sure the hostname is added to the allowed hosts.
Connector networking configuration
editUse the Action configuration settings to customize connector networking configurations, such as proxies, certificates, or TLS settings. You can set configurations that apply to all your connectors or use xpack.actions.customHostSettings to set per-host configurations.
Preconfigured connector type
edit my-teams:
name: preconfigured-teams-connector-type
actionTypeId: .teams
secrets:
webhookUrl: 'https://outlook.office.com/webhook/abcd@0123456/IncomingWebhook/abcdefgh/ijklmnopqrstuvwxyz'
Secrets defines sensitive information for the connector type.
-
webhookUrl - A string that corresponds to Webhook URL.
Define connector in Stack Management
editDefine Teams connector properties.
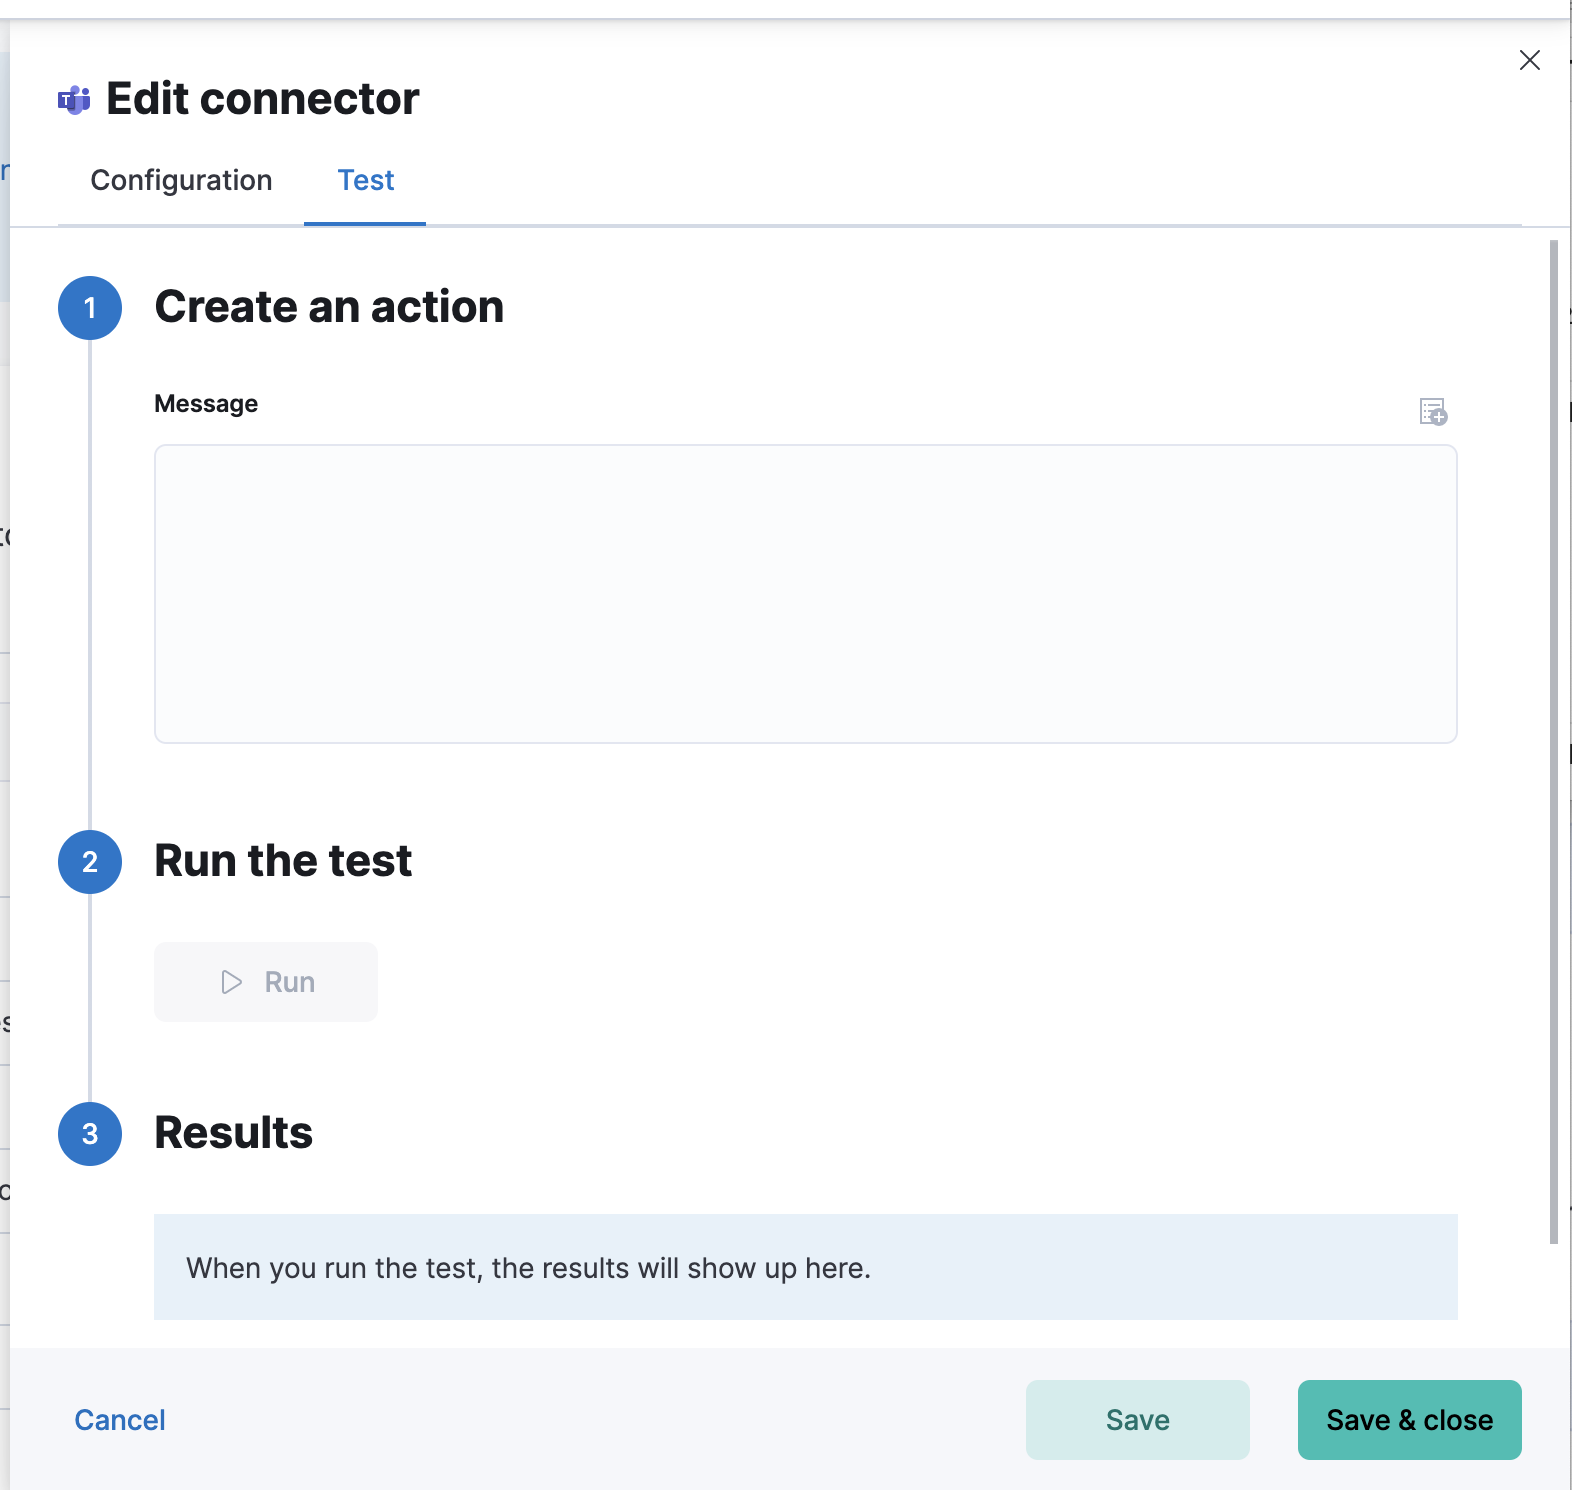
Test Teams action parameters.
Action configuration
editMicrosoft Teams actions have the following properties.
- Message
-
The message text, converted to the
textfield in the Webhook JSON payload. Currently only the text field is supported. Markdown, images, and other advanced formatting are not yet supported.
Configure a Microsoft Teams account
editMicrosoft 365 connectors are being retired; you must use the Workflows app to create a webhook URL. For example:
- Go to the Workflows app in Teams and select the Create tab.
-
Create a workflow from a blank template.
You cannot use the "Post to a channel when a webhook request is received" template; it does not work with the Microsoft Teams connector.
-
Add a trigger as the first step in the workflow. Search for webhook triggers and select When a Teams webhook request is received. Set Who can trigger the flow? to
Anyone. -
Add Post message in a chat or channel as the second step in the workflow.
-
Set Post as to
Flow bot. -
Set Post in to
Channel. -
Set Team and Channel to the appropriate values for where you want the message displayed.
Per https://learn.microsoft.com/en-us/power-automate/teams/send-a-message-in-teams#known-issues-and-limitations, you cannot use a private channel.
-
Set the Message to
@{triggerBody()?['text']}.Alternatively, you can add a Parse JSON step before the Post message in a chat or channel step in the workflow. Set the Content to
Bodyand the Schema to the following value:{ "type": "object", "properties": { "text": { "type": "string" } } }
-
Set Post as to
- Save the workflow and copy the HTTP POST URL from the first step. This is the URL required by the Microsoft Teams connector.