WARNING: Version 4.1 of Kibana has passed its EOL date.
This documentation is no longer being maintained and may be removed. If you are running this version, we strongly advise you to upgrade. For the latest information, see the current release documentation.
Defining Your Index Patterns
editDefining Your Index Patterns
editEach set of data loaded to Elasticsearch has an
index pattern.
In the previous section, the Shakespeare data set has an index named shakespeare, and the accounts
data set has an index named accounts. An index pattern is a string with optional wildcards that can match multiple
indices. For example, the list of indices for this tutorial includes three different indices for Logstash data. You can
search all three indices with the index pattern logstash-2015.05.*
For this tutorial, any pattern that matches either of the two indices we’ve loaded will work. Open a browser and
navigate to localhost:5601. Click the Settings tab, then the Indices tab. Click Add New to define a new index
pattern. Since these data sets don’t contain time-series data, make sure the Index contains time-based events box is
unchecked. Specify shakespeare as the index pattern for the Shakespeare data set and click Create to define the index
pattern, then define a second index pattern named accounts.
Discovering Your Data
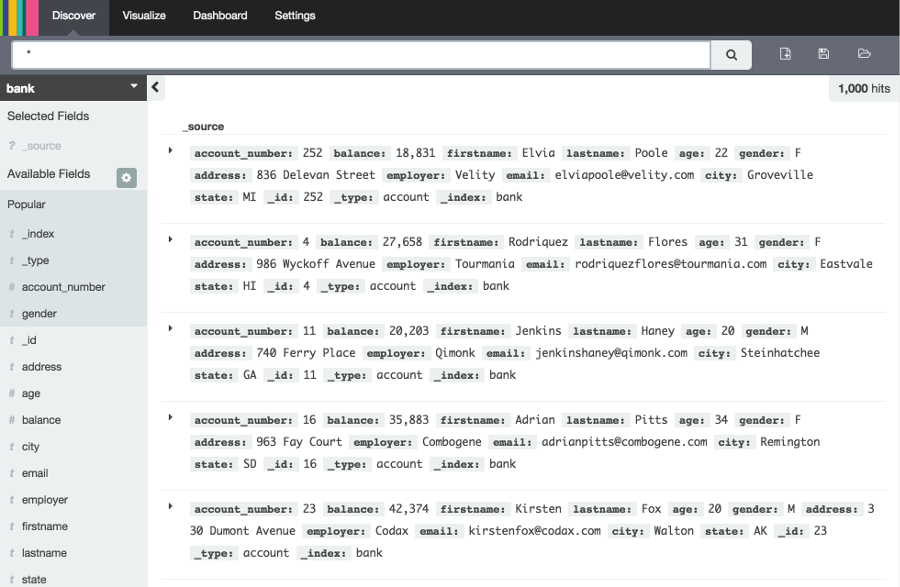
editClick the Discover tab to display Kibana’s data discovery functions:

Right under the tab itself, there is a search box where you can search your data. Searches take a specific query syntax that enable you to create custom searches, which you can save and load by clicking the buttons to the right of the search box.
Beneath the search box, the current index pattern is displayed in a drop-down. You can change the index pattern by selecting a different pattern from the drop-down selector.
You can construct searches by using the field names and the values you’re interested in. With numeric fields you can use comparison operators such as greater than (>), less than (<), or equals (=). You can link elements with the logical operators AND, OR, and NOT, all in uppercase.
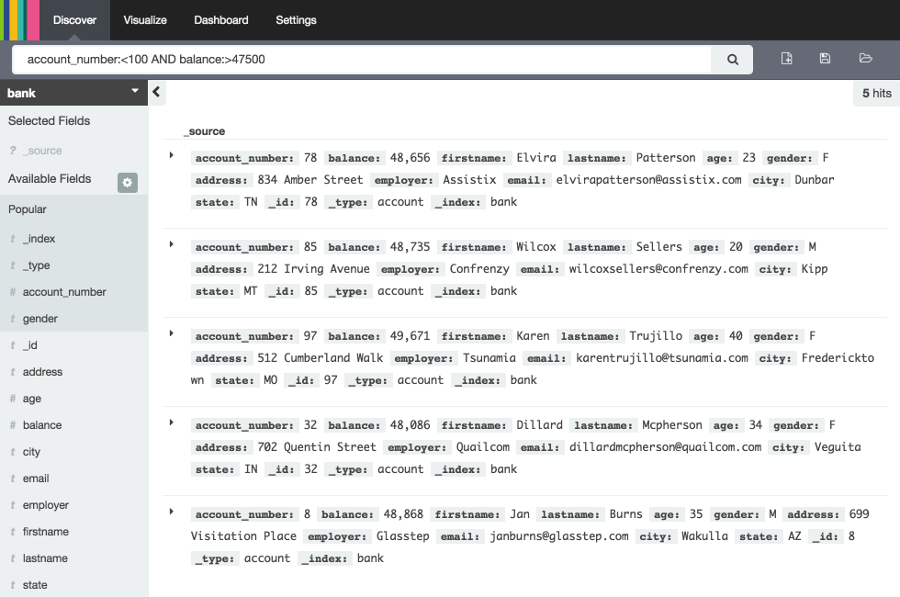
Try selecting the accounts index pattern and putting the following search into the search box:
account_number:<100 AND balance:>47500
This search returns all account numbers between zero and 99 with balances in excess of 47,500.
If you’re using the linked sample data set, this search returns 5 results: Account numbers 8, 32, 78, 85, and 97.

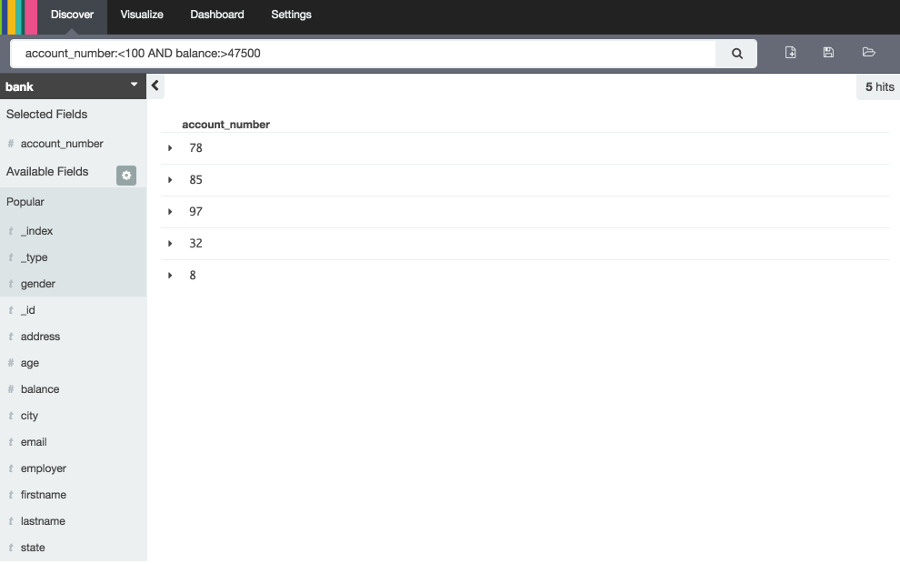
To narrow the display to only the specific fields of interest, highlight each field in the list that displays under the
index pattern and click the Add button. Note how, in this example, adding the account_number field changes the
display from the full text of five records to a simple list of five account numbers:
