IMPORTANT: No additional bug fixes or documentation updates
will be released for this version. For the latest information, see the
current release documentation.
Add an Elastic Agent integration to a policy
edit
IMPORTANT: This documentation is no longer updated. Refer to Elastic's version policy and the latest documentation.
Add an Elastic Agent integration to a policy
editPolicies consist of one or more integrations. To add a new integration to a policy:
-
In Kibana, go to Management > Integrations.
Notice that the Integrations page shows Elastic Agent integrations along with other types, such as Beats.
-
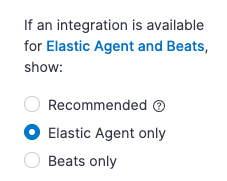
Scroll down and select Elastic Agent only so the view shows integrations that work with Elastic Agent.
- Search for and select an integration.
- Click Add <Integration>.
- Name the integration, and add any required configuration variables.
- Choose the policy you want to add the integration to. You can choose an existing policy or create a new one.
- Click Save integration to save the integration policy as a part of the larger Elastic Agent policy. Fleet will distribute this new policy to all Elastic Agents that are enrolled with it.
If you haven’t deployed any Elastic Agents yet or set up agent policies, start with one of our quick start guides: