Customize your deployment
editCustomize your deployment
editYou can either customize a new deployment, or customize an existing one. On the Create a deployment page, click Edit settings to change the cloud provider, region, hardware profile, and stack version; or click Advanced settings for more complex configuration settings.
On the Advanced settings page, you can change the following settings:
- Enable autoscaling so that the available resources adjust automatically as demands on the deployment change.
-
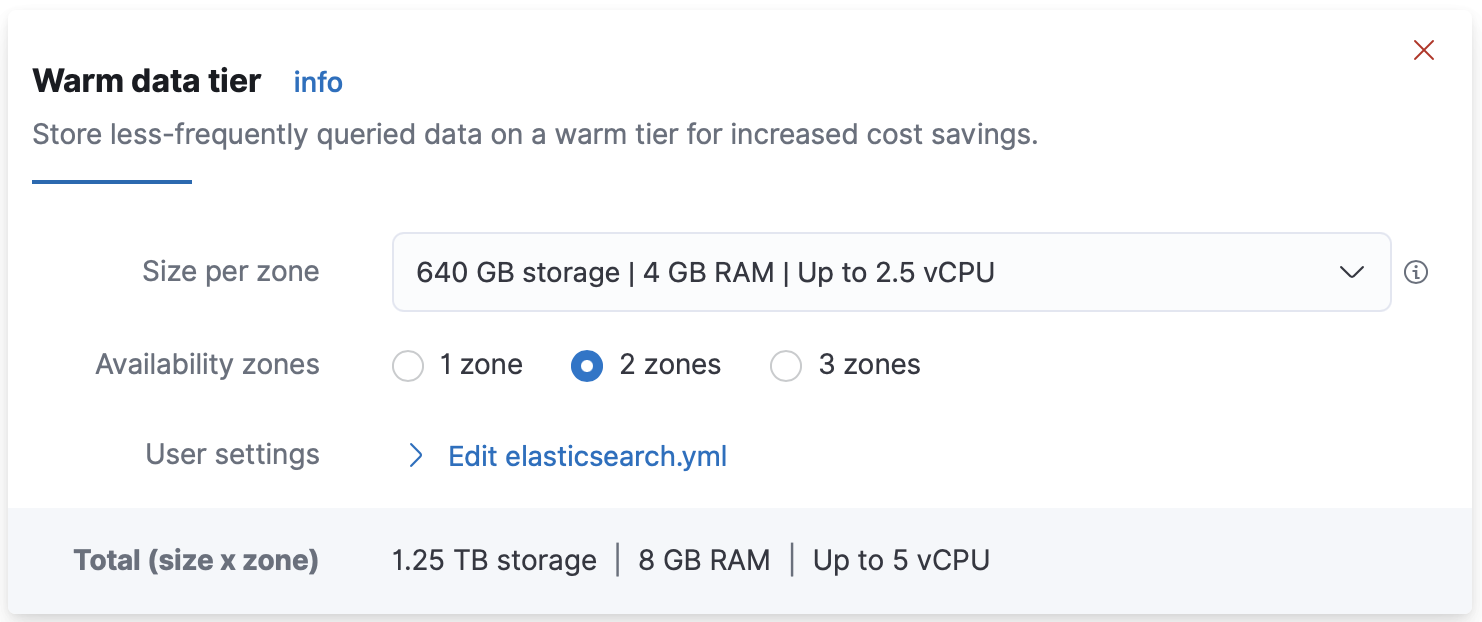
If you don’t want to autoscale your deployment, you can manually increase or decrease capacity by adjusting the size of hot, warm, cold, and frozen data tiers nodes. For example, you might want to add warm tier nodes if you have time series data that is accessed less-frequently and rarely needs to be updated. Alternatively, you might need cold tier nodes if you have time series data that is accessed occasionally and not normally updated.
-
From the Size per zone drop-down menu, select what best fits your requirements.

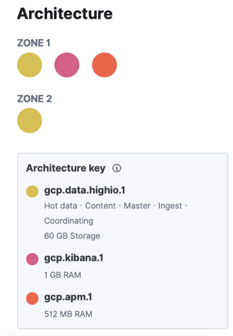
Based on the size that you select, the number of nodes is calculated automatically. The Architecture summary displays the total number of nodes per zone, where each circle color represents a different node type.

- Add fault tolerance by adjusting the number of availability zones that your deployment runs on.
-
Edit the
.ymlconfiguration file to run Elasticsearch with your own user settings.
-
For more information, refer to Editing your user settings.
- Enable specific Elasticsearch plugins which are not enabled by default.
- Enable additional features, such as Machine Learning or coordinating nodes.
- Set specific configuration parameters for your Elasticsearch nodes or Kibana instances.
That’s it! Now that you are up and running, start exploring with Kibana, our open-source visualization tool. If you’re not familiar with adding data, yet, Kibana can show you how to index your data into Elasticsearch, or try our basic steps for working with Elasticsearch.